


Hello friends! Welcome to Day 2 of Christmas in July Week! :)
Today, I'm going to show you how to re-create something you may already have laying around your house.
This "re-creation" can easily be wrapped and given as a fantastic, one of a kind, personalized Christmas gift. Or, if you really just LOVE it, you can keep it (KIDDING!!).
It's super easy and fun to make.
Here's what you'll need:
*Something to decorate, such as ~ a wood framed mirror, a photo frame, a plaque, a wooden unfinished keepsake box (like you get at the craft stores), an old wooden chair that needs sprucing up (think thrift stores!), a small accent table...basically anything that can be painted!
*A solid paint color (I used Antique White, 'cause that's what I like)
*An accent color (I used Metallic Gold, 'cause I felt like it)
*A box of stick-on foam letters from your favorite craft store (don't worry about colors, we are gonna paint them)
*Elmers glue (just in case)
*Craft paint brushes
*Flat razor blade (IF you are NOT accident prone)
*Painters Tape (IF you ARE accident prone)
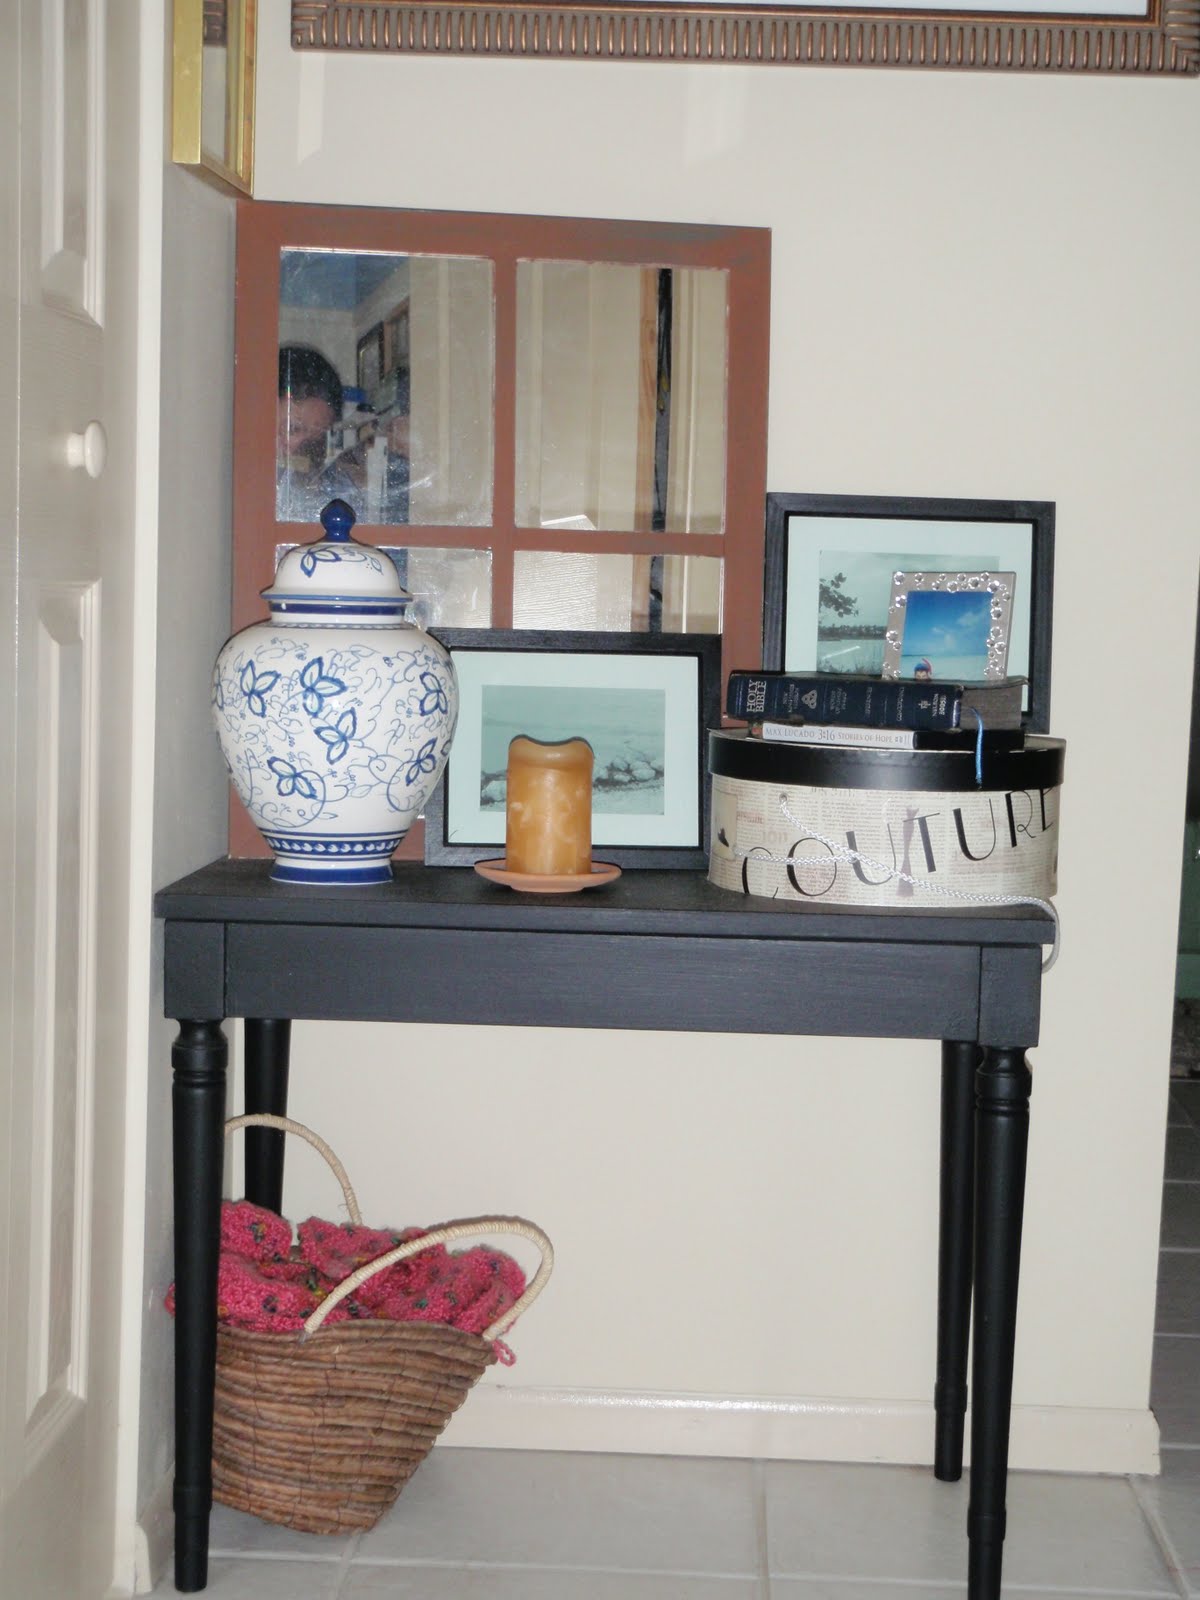
Here are my before and after pictures, just to give you an idea of what we are gonna do...(focus on the mirror)
.JPG)
I've had that framed mirror for YEARS. It has been painted and put in a corner, but I'm ready for a change. MANY things in my house are getting a fresh coat of paint in the next few months, so here is my first of many...
First grab your box of stick-on foam letters and come up with some "words" that you want to put on your project.

If you are doing a photo frame, you could put a person's name on there, or you could be really original and put on "Live Laugh Love"...just sayin'....or you could put "Family"..."Chocolate Is My Life"...or whatever comes to mind ... :)
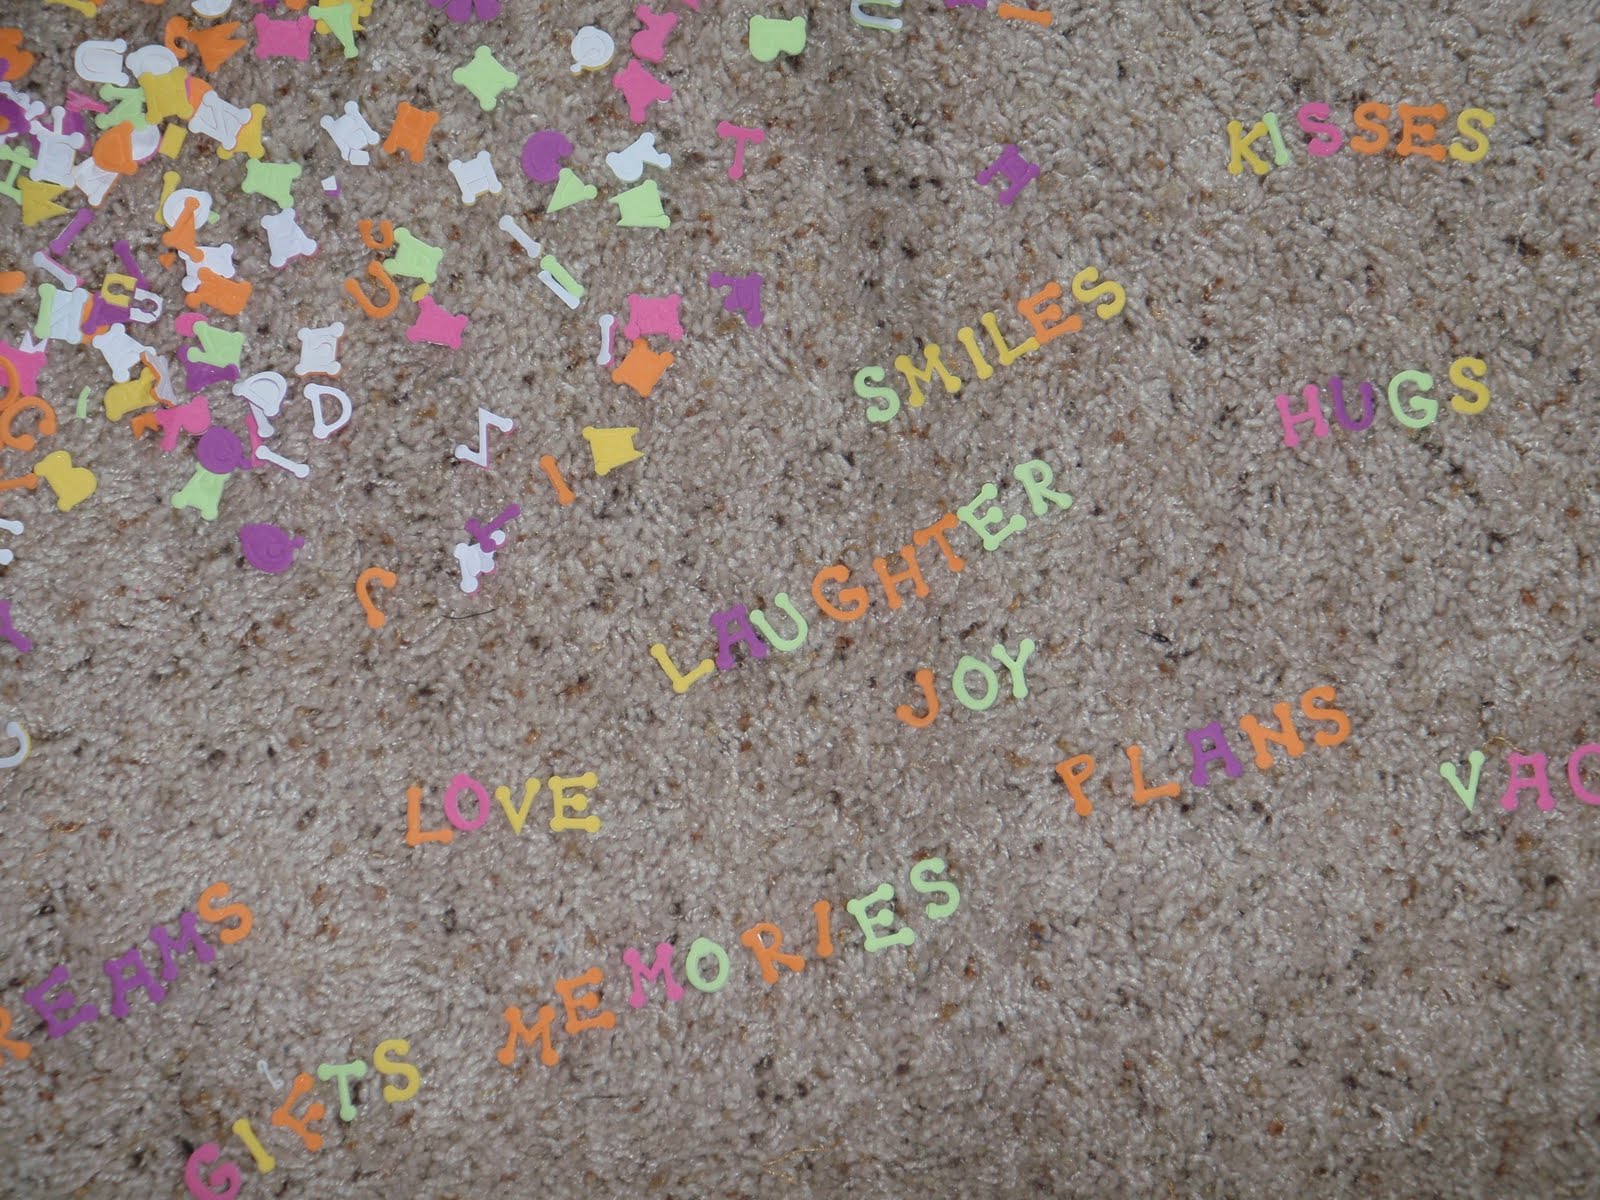
BEFORE removing the backing, arrange your words how you want them. I like my letters all kinda Caddy-Wonkus....you know?

Once everything is just how you like it, remove the backing and press the letters into place.


IF by chance, some of your foam letters are missing their backs and have NO sticky surface (like some of mine did), use a small bit of glue to adhere them.


Once the letters are all in place, we are ready to slather on some paint. IF you are accident prone and do not want to scrape paint with a razor blade, then take a few hours minutes and carefully tape off your edges. I did NOT do this, I would much rather take my chances with the blade and save time.
I used Antique White all over. The foam will soak up quite a bit, and you have to pay special attention to the edges around the letters so they A) are all filled in...and B) aren't all goopy lookin' ~ it's easy, really, just keep your eye on things.


First Coat


Second Coat

Once that second coat is dry, you will notice that there is paint all over the edges of your mirror (if that's what you're decorating)...


I gently brushed the edges of the letters.

This makes the letters stand out a bit more, but it's purely optional.


Let that dry and Voila! You are done.

Before and After, once again.


Super easy, I bet you have most of that stuff in your craft room, or under your bed, or in a cabinet, in your pantry, or wherever you keep that kind of stuff....so let's get crafting!
See you tomorrow!
Not into sewing or painting? How about glueing???
Come back tomorrow and see how you can make this...

Why don't you pop over to Homesteaders Heart and see what Kim's doing for Christmas in July today...
Oh! I can't leave you without this thought...while you are reading my post, I am most likely Lobstering...


The mirror is absolutely adorable! What a wonderful way to use up those foam letters too! I am already thinking of a mirror I want to spruce up and I know we have those foam letters in the art box. Great photos!
ReplyDeleteYou are chock full of talent my friend. And I'm so glad you'll be home today.
ReplyDeleteLOVE YOU!
That is so COOL!!! I am actually writing this idea on my notebook for future references!
ReplyDeleteThank you!!!
Does someone have an obsession with foam letters?Girl I have never seen so many!! lol
ReplyDeleteThe mirror turned out great...I watched and read every detail!!
Thanks for the idea!!I am one of Kim's friends.
Cindy from Rick-Rack and Gingham
oh my gosh...that is sooooo cute! I love it! I can think of tons to do like this! My daughter would love something like this in her room too!
ReplyDeleteYou're coming home today! Praise God for all HE has done for you and I know will continue to do!
Love you and praying praying praying!!!
Love that mirror!! I will have to try something like that!! Great idea!!
ReplyDeleteSo glad you are coming home!!! Praying for you guys!!
Love and blessings!!
Love the mirror! :D You are so creative!
ReplyDeleteThis is really great. I have tons of those letters and have been trying to figure out what in the world to do with them. Now to find a frame. I am thinking..."Make, sell, make, sell". :o) thanks for the tips
ReplyDelete